Kindergarten FALL crafts and activities
Kindergarten FALL crafts and activities
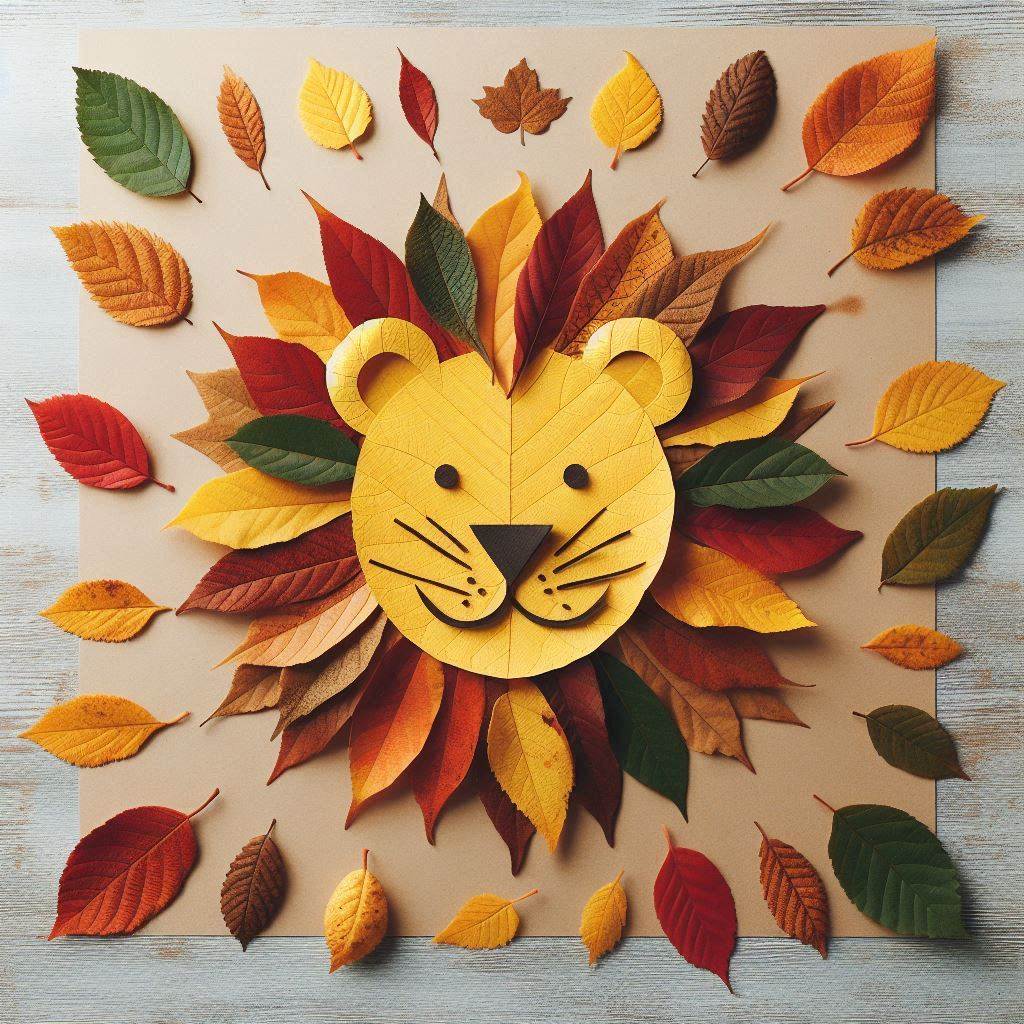
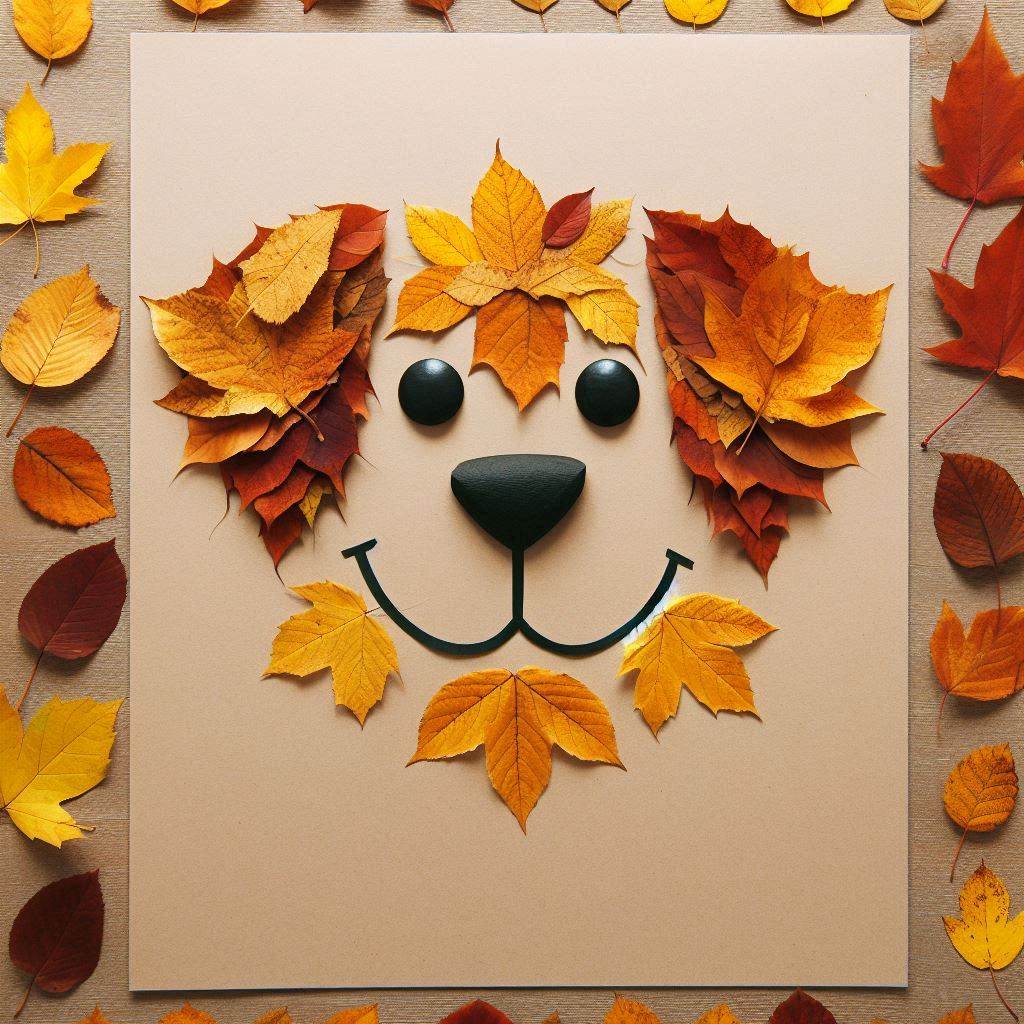
Autumn Leaf Cat Face Craft: Step-by-Step Guide
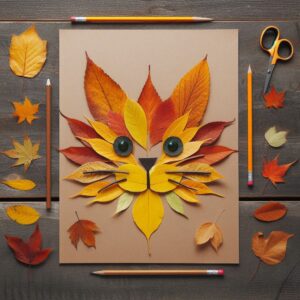
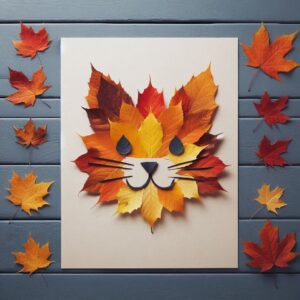
Materials Needed:
- Assorted autumn leaves (different sizes and colors)
- A sheet of brown or beige cardstock (for the base)
- Black construction paper (for the nose and whiskers)
- Two buttons or googly eyes (for the eyes)
- Glue stick
- Scissors
- Pencil
- Optional: Crayons or colored pencils
Instructions:
- Gather Leaves:
Take the kids on a fun nature walk and ask them to collect a variety of autumn leaves in different sizes and shades (yellow, orange, red, brown). This adds a hands-on element to the project and connects them with nature. - Prepare the Base:
Give each child a piece of brown or beige cardstock. This will serve as the background for the cat face. - Arrange the Cat Ears (Top of the Head):
Select two medium-sized leaves with pointy ends to form the cat’s ears. Place them at the top of the cardstock, pointing upward. Once positioned correctly, glue them down. - Create the Face:
Choose several medium to large leaves with a smooth surface and arrange them to form the cat’s face, fanning out from the center. Overlap the leaves to create a fuller effect. Use orange or yellow leaves to mimic the look of a furry face. Glue them in place. - Add the Eyes:
Glue two buttons or googly eyes in the center of the face to create the eyes of the cat. The larger the eyes, the cuter and more whimsical the cat will appear. - Make the Nose and Whiskers:
Cut a small triangle out of black construction paper for the nose. Glue it between the eyes. For the whiskers, cut thin strips of black paper and glue them to each side of the nose. - Add Final Details:
Use small leaves to enhance the whiskers or cheeks, adding texture and depth to the cat’s face. Encourage kids to use their creativity to add more elements, such as additional whiskers or decorative elements around the face. - Optional Background Decoration:
If desired, children can use crayons or colored pencils to add extra details, such as paws, background scenery, or other animals.
Display:
Once all the cat faces are finished, let the glue dry completely. Hang the completed crafts on the classroom wall or send them home for parents to admire!
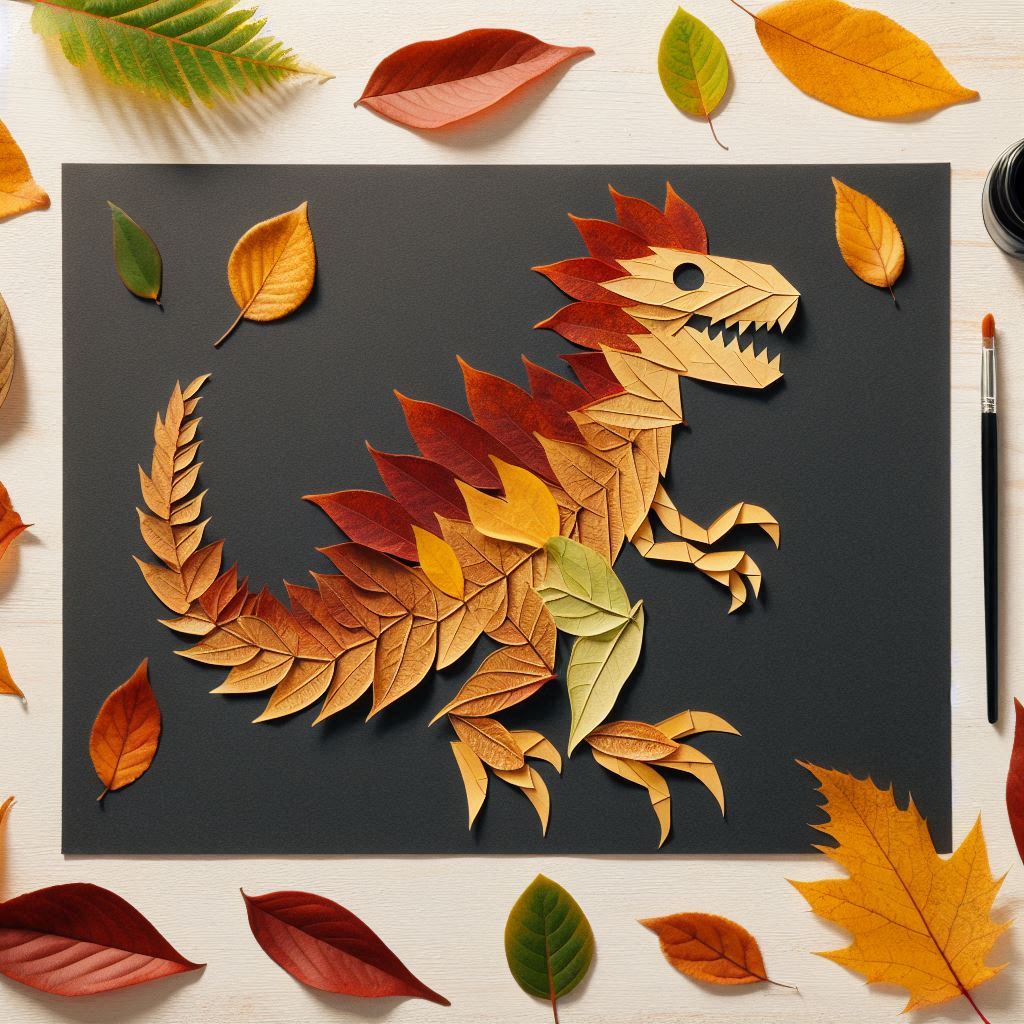
Autumn Leaf Dinosaur Craft: Step-by-Step Guide


Materials Needed:
- Assorted autumn leaves (various sizes and colors)
- A sheet of green or brown cardstock (for the base)
- Black marker or googly eyes
- Glue stick
- Scissors
- Pencil
- Optional: Crayons or colored pencils
Instructions:
- Gather Leaves:
Take the children outdoors to collect a variety of autumn leaves in different shapes, sizes, and colors (green, yellow, orange, red). This will allow for a more creative and varied dinosaur look. - Prepare the Base:
Provide each child with a sheet of green or brown cardstock to use as the background for their dinosaur. The color represents a prehistoric landscape. - Shape the Dinosaur’s Body:
Select a large leaf (preferably a long, oval shape) to represent the dinosaur’s body. Place it horizontally in the center of the cardstock. This will be the main body of the dinosaur. Glue it down securely. - Create the Head:
Choose a medium-sized leaf for the dinosaur’s head. You can pick a smaller round or heart-shaped leaf. Position it on one end of the larger leaf (body) and glue it down. - Add the Tail:
Use a long, narrow leaf to form the dinosaur’s tail. Attach it to the opposite end of the body, curving outward to mimic a long, swinging tail. - Make the Legs:
Cut or use two small leaves to create the dinosaur’s legs. Glue one leaf at the bottom of the body on each side. For a standing dinosaur, you can even add a few more leaves or strips of leaves as extra legs. - Design the Spikes or Plates:
If you want to make a stegosaurus or similar dinosaur, pick several small leaves and line them along the dinosaur’s back to represent spikes or plates. You can arrange them in a neat row and glue them on the top side of the body leaf. - Add the Eyes:
Draw a small circle or use a googly eye for the dinosaur’s eye on the head leaf. For a more playful look, you can draw a large eye with a black marker. - Optional Features:
Children can add additional details like teeth, spots, or even wings if they want to create a pterodactyl. Encourage them to add creativity, such as coloring the background with prehistoric trees, rocks, or volcanoes. - Personalize the Dino:
Kids can give their dinosaur a name and label it on the paper. This adds a personal touch and makes the project more fun for them.
Display:
Once the dinosaurs are complete, allow the glue to dry. Display the leaf dinosaurs in the classroom as part of a “Dinosaur Land” theme or send them home as a fun decoration for parents to enjoy.
Tips for Teachers:
- Allow children to experiment with different leaf shapes and arrangements to create a variety of dinosaur species.
- For younger kids, you can pre-cut leaf shapes out of colored paper to make it easier.
- Make it a part of a science lesson about dinosaurs, nature, or fossils.
This dinosaur craft is a great way to connect creativity with learning about history and nature. Children can express themselves while learning about dinosaurs and developing fine motor skills.
These Might Interest You:
20 Cute Free Printable Fall Coloring pages for kids

